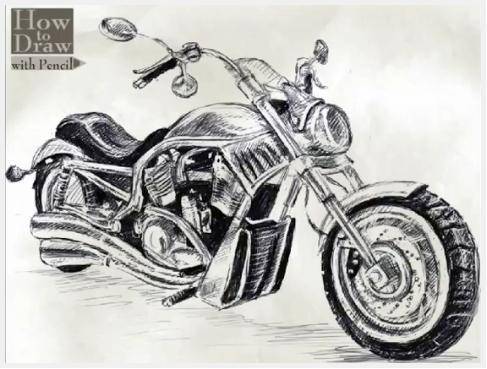
Learning how to draw a motorcycle is apparently surprisingly easy if you follow 9 simple steps that the team at howtodrawwithpencil has put together. They took the Harley-Davidson V-Rod as the example, but the rules apply to all other bikes in the cruiser category. Please read the advices and watch the demonstration video after the break.
1. Start your drawing with two circles that will form the wheels of the motorcycle. Keep 5 inches distance between the two tires.
1. Draw two straight parallel lines coming up from the front wheel. Make sure the lines become slanting as they rise, in front of the gas tank. This will form the forks to which the handlebars will be connected.
3. Now make the handlebars and connect them to the ends of the forks drawn in the step 2. Make sure they face towards the seat by adding desired curve towards the seat.
4. Draw long rectangular oval shape for the seat. This must be connected to the back wheel.
5. Next, draw the tank portion of the vehicle. For this you need to draw an oblong oval connecting the seat and the fork. Make sure that it is wider on the right-hand side for the gas tanks. It should be placed half way in middle of the fork and to the seat.
6. Now about three quarters from bottom of the fork, make a rectangular shape extending from the fork to the middle of the back wheel.
7. For greater details you can further add engine, exhaust, and other components that make motorcycles run.
8. Add a headlight at the front portion, close to the forks.
9. Now you can color or shade the sketch to make your motorcycle graphic look unique.
