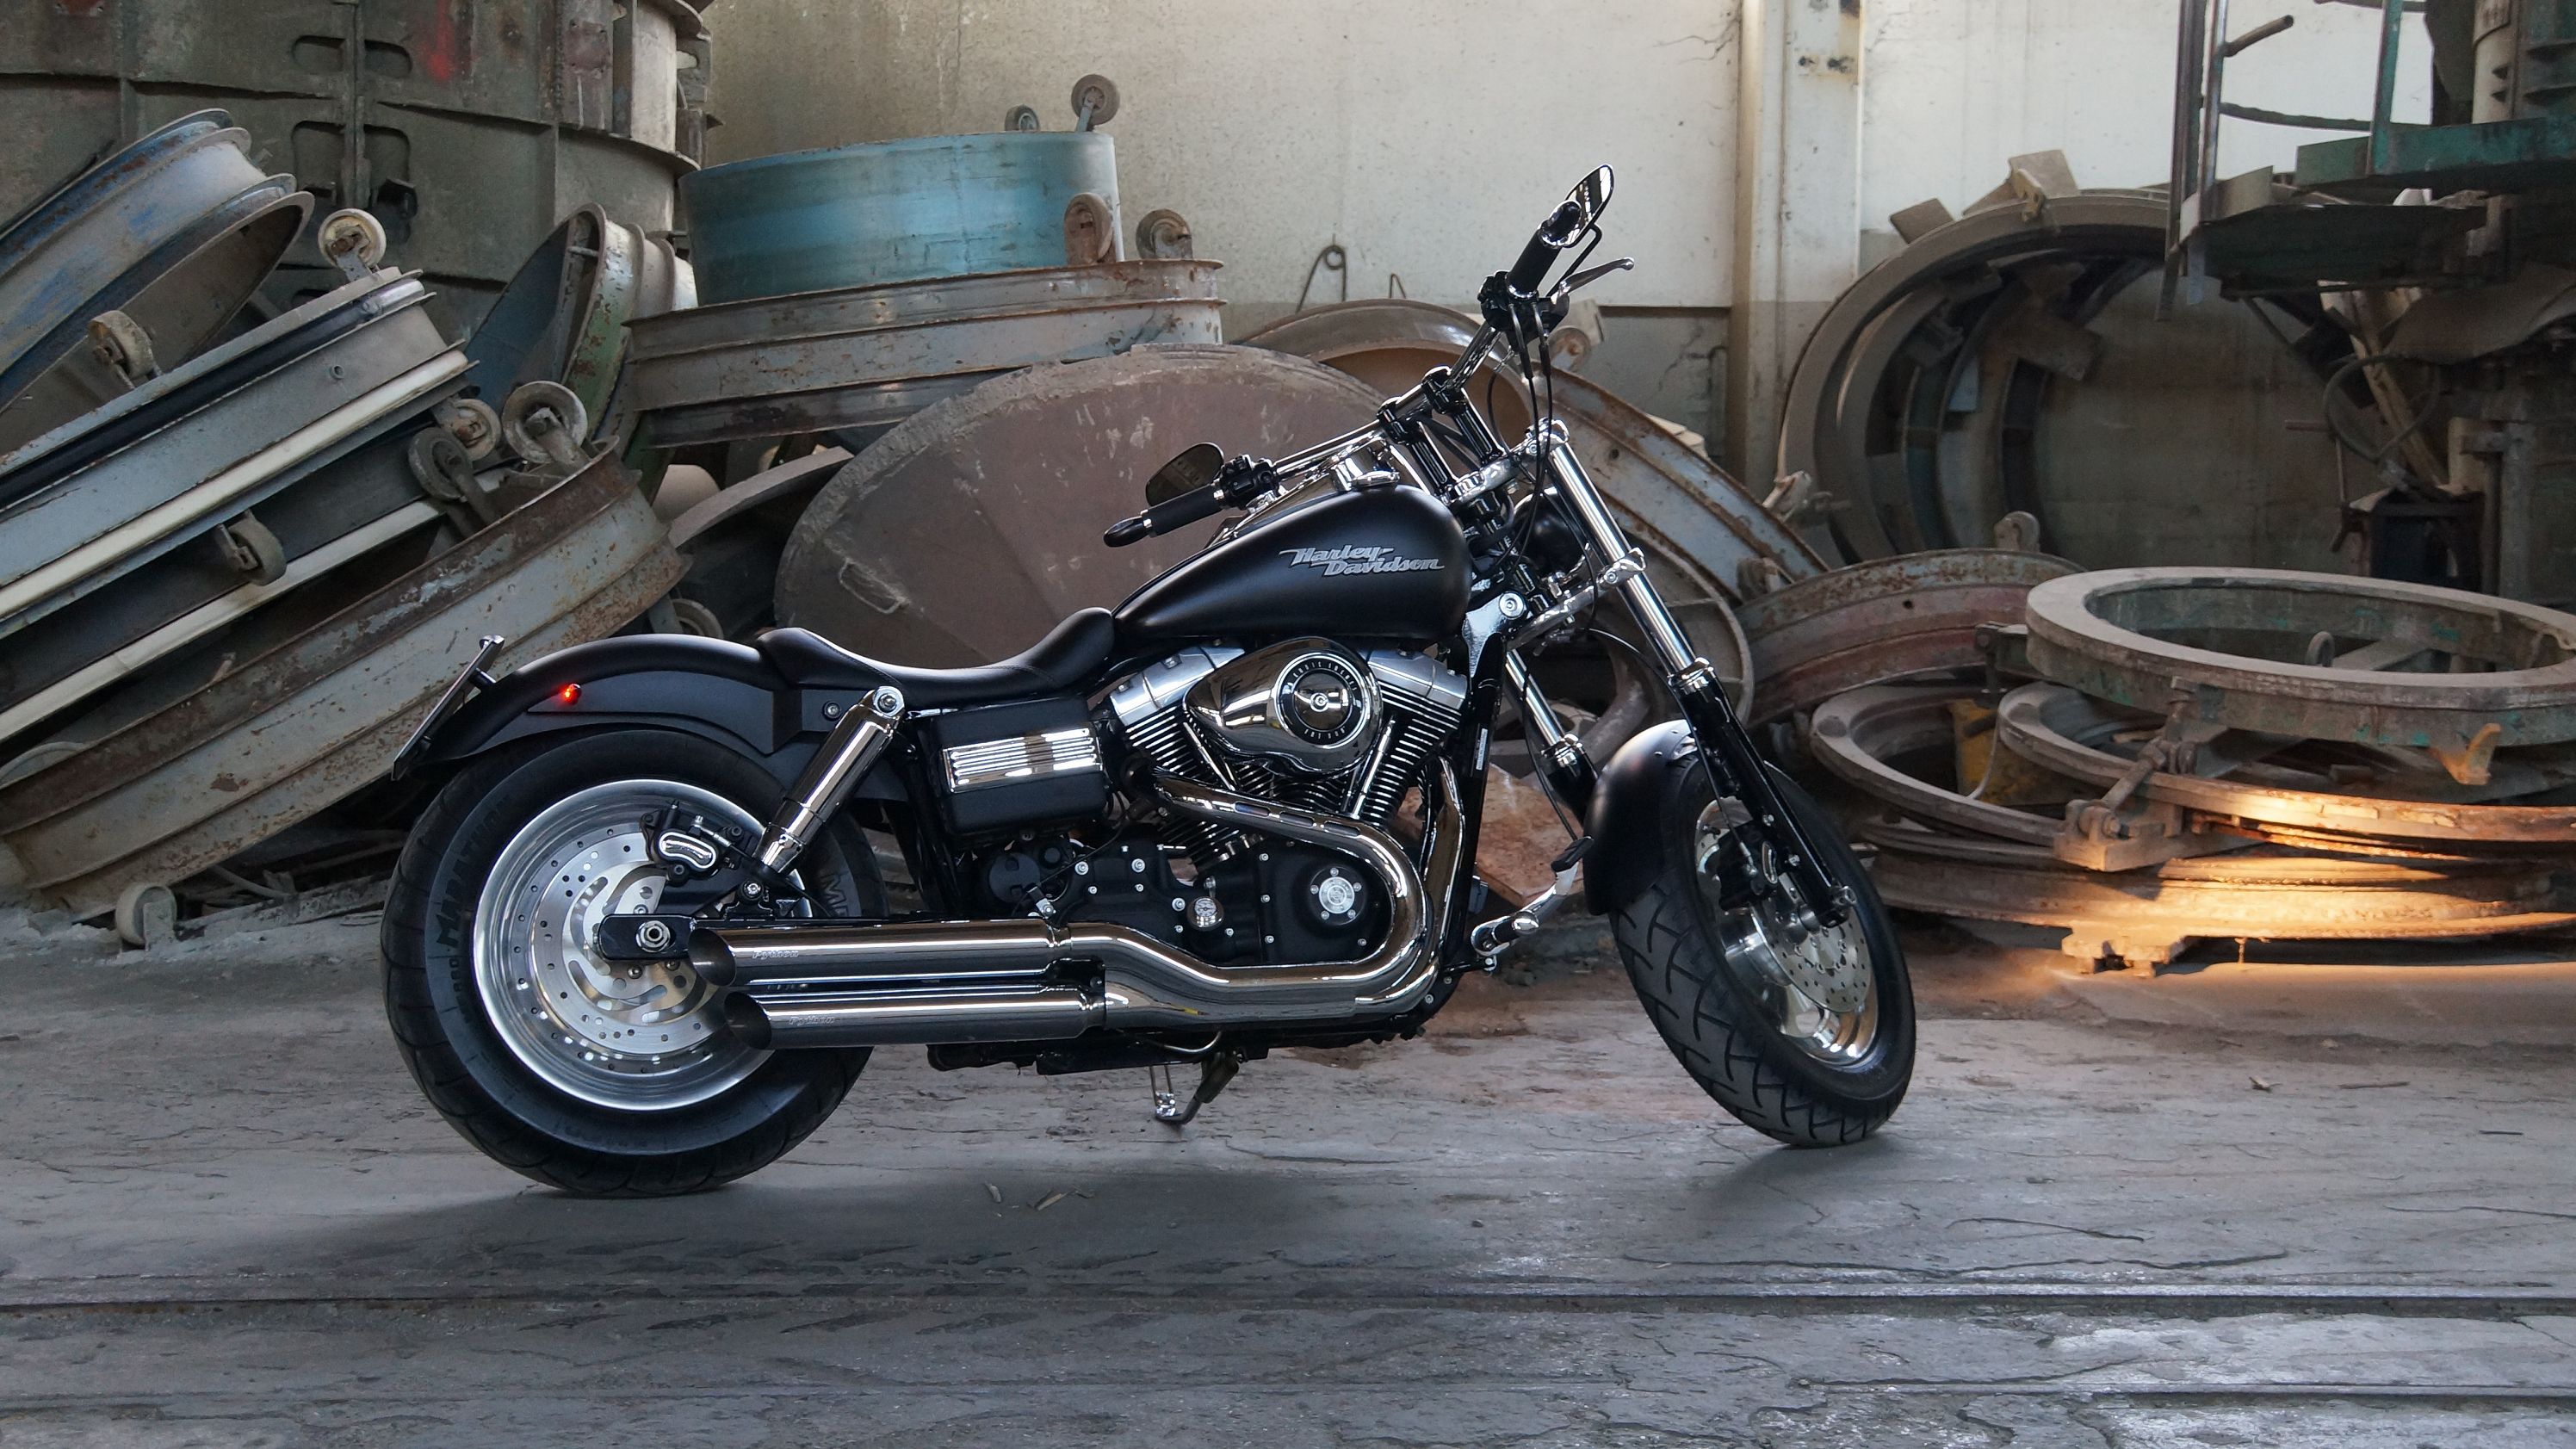
Now that tax season is over and you have that fat refund in your pocket, the warming weather of spring may well have you thinking about bugs in your teeth and your fists in the wind. All bike mechanics, and most experienced riders, will already be familiar with the following procedures, but first-time buyers looking to pick up a used bike should pay attention, The following checks may save you a lot of money and aggravation in the long run.
Continue reading for my presale inspection tips.
So You Want to Buy a Used Bike
They say when you buy a used vehicle, you are buying someone else's problems. That is not necessarily always true with motorcycles. People can sell a bike to raise money, because for most, the bike is a luxury or alternative transportation. There are very few true RATTs out there. Health reasons, spousal pressure and near-misses can also play a part. Salient point is; you don't necessarily have to view every bike with a jaundiced eye.
There are, however, plenty of things that can be wrong, and identifying them before purchase is key. To be fair, a large part of my “pre-flight routine” is based on a procedure taught at the Motorcycle Mechanics Institute as a way for a mechanic to quickly evaluate a customer's bike for possible problems before putting it on a lift, and the rest are things I have added based on my own personal experience. So let's get to it, shall we?
Doing a Presale Walk-Around
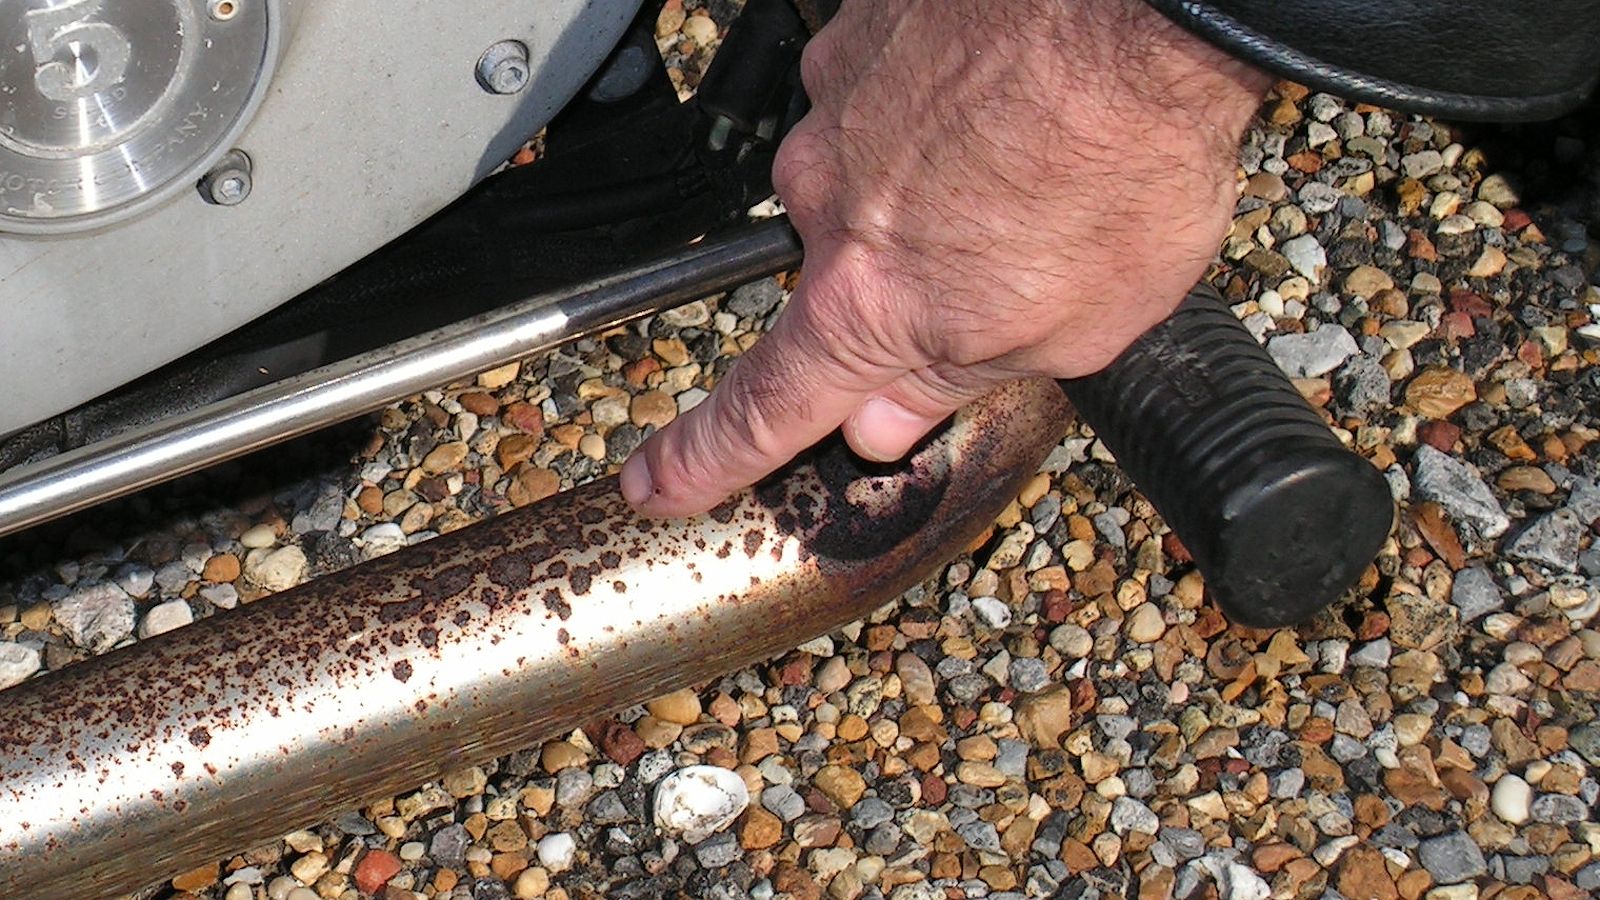
Start out with the bike on nice firm ground, concrete or asphalt, preferably flat and level. First, I like to evaluate the level of maintenance done on the bike with a walk-around, which allows me to anticipate and identify problems that arise from neglect. Look for rusted chrome and steel components, oxidized aluminum, anything that suggests the bike was left out in the weather. Corroded fasteners vastly complicate repair procedures. They are hard to remove, and when they break off, they open a completely new can of worms, particularly for the typical, ill-equipped do-it-yourselfer.
If there is evidence that the bike was left in the weather, chances are good that the throttle cable(s) and clutch cable are in need of lubrication at best, and replacement at worst. If the bike has a cable-type throttle, you may twist it once and release it. Both actions should be smooth, and the return should be snappy. Failure of this check could indicate dry cables in need of lube, mal-adjusted cables or bad cable sleeves in need of replacement.
Check the tires. If they are worn past safe service limits (wear bars visible, slick), then chances are good the owner let the other maintenance slide as well. Motorcycle tires aren't cheap, and neither is the labor, so tire condition can be a significant haggling point, depending on the circumstances.
Look for evidence of engine oil leaks at the lowest points under the engine, and look for weepage at all the gaskets. Oil leaks are serious business on a bike, since any dripped oil invariably winds up on the rear tire, so they need to be addressed before operating the bike. Also look for weeps at all brake fittings, and at the front fork seal.
Visually inspect the brake-pad thickness and the condition of the rotors. Different manufacturers list different specs for minimum thickness, but generally, you want at least the thickness of two nickels worth of friction material, or you need to add brakes to the punch list.
At this point, I like to look at any exposed wiring for signs that the harness has been violated, or opened up. Check the wires for the telltale pinpricks in the insulation that indicates a history of electrical problems and troubleshooting, and be sure to ask what the problem was, and if it was resolved.
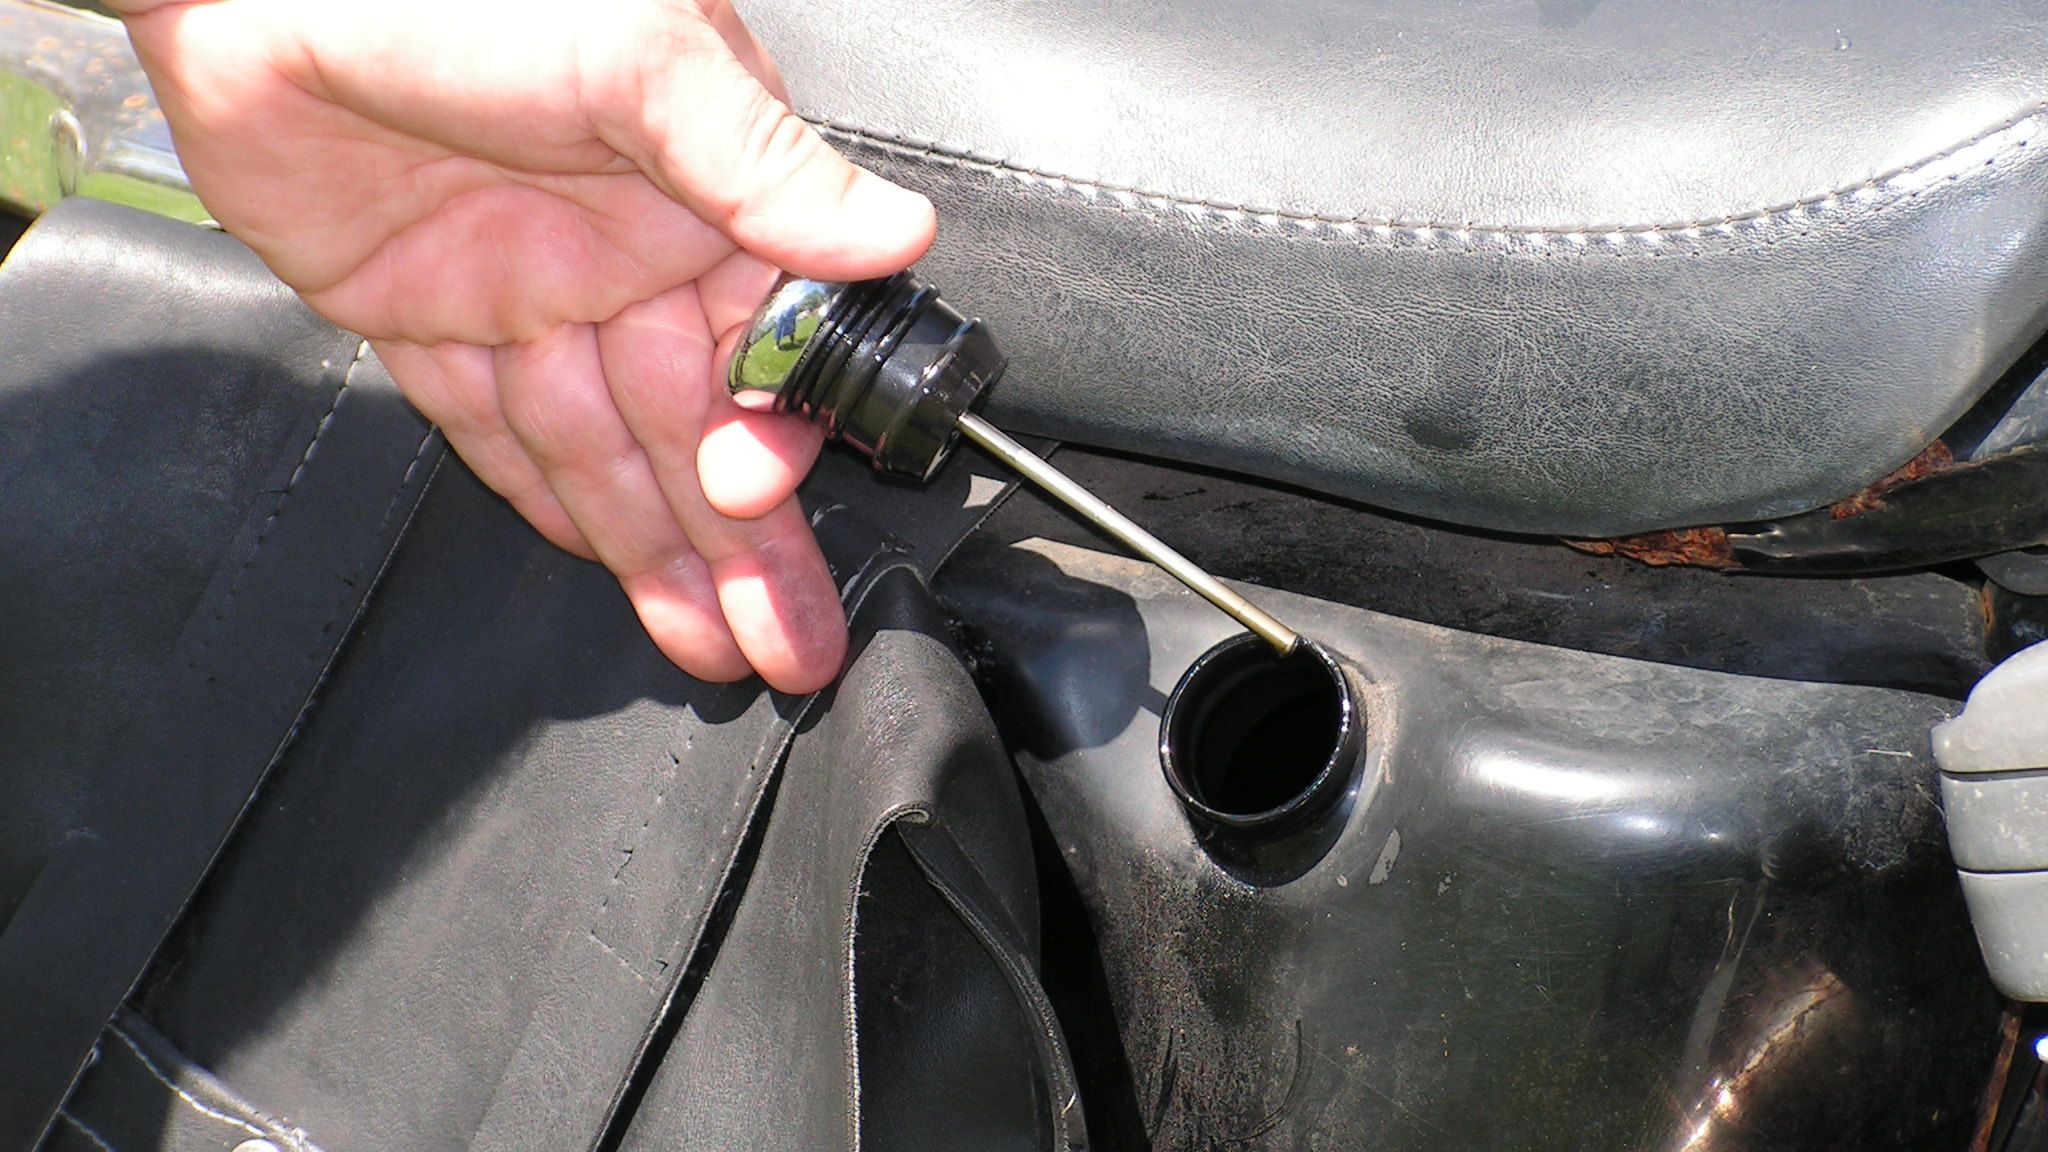
Pull the engine oil dipstick and wipe a sample of the engine oil on a white napkin. Inspect it for black carbon flakes, shiny metal salt and milky water content. Worn out oil is easy enough to correct, but water and metal salt in the oil can indicate a serious, and expensive, problem. Beware any bike with either of these present in the oil.
If it has a belt drive, look at the condition of the belt. Wear on one side or the other is indicative of an alignment issue, which may be as simple as an axle alignment, or you could have a swingarm problem, the wrong spacers or even the wrong wheel. Ask questions if you notice this kind of wear.
Motorcycle Chassis Dynamic Tests
That's about all the static tests you can do without the benefit of tools, and most sellers won't be keen on you disassembling their bike pre-sale, anyway. So now, we move to the dynamic tests and actually check the feel and function of the bike.
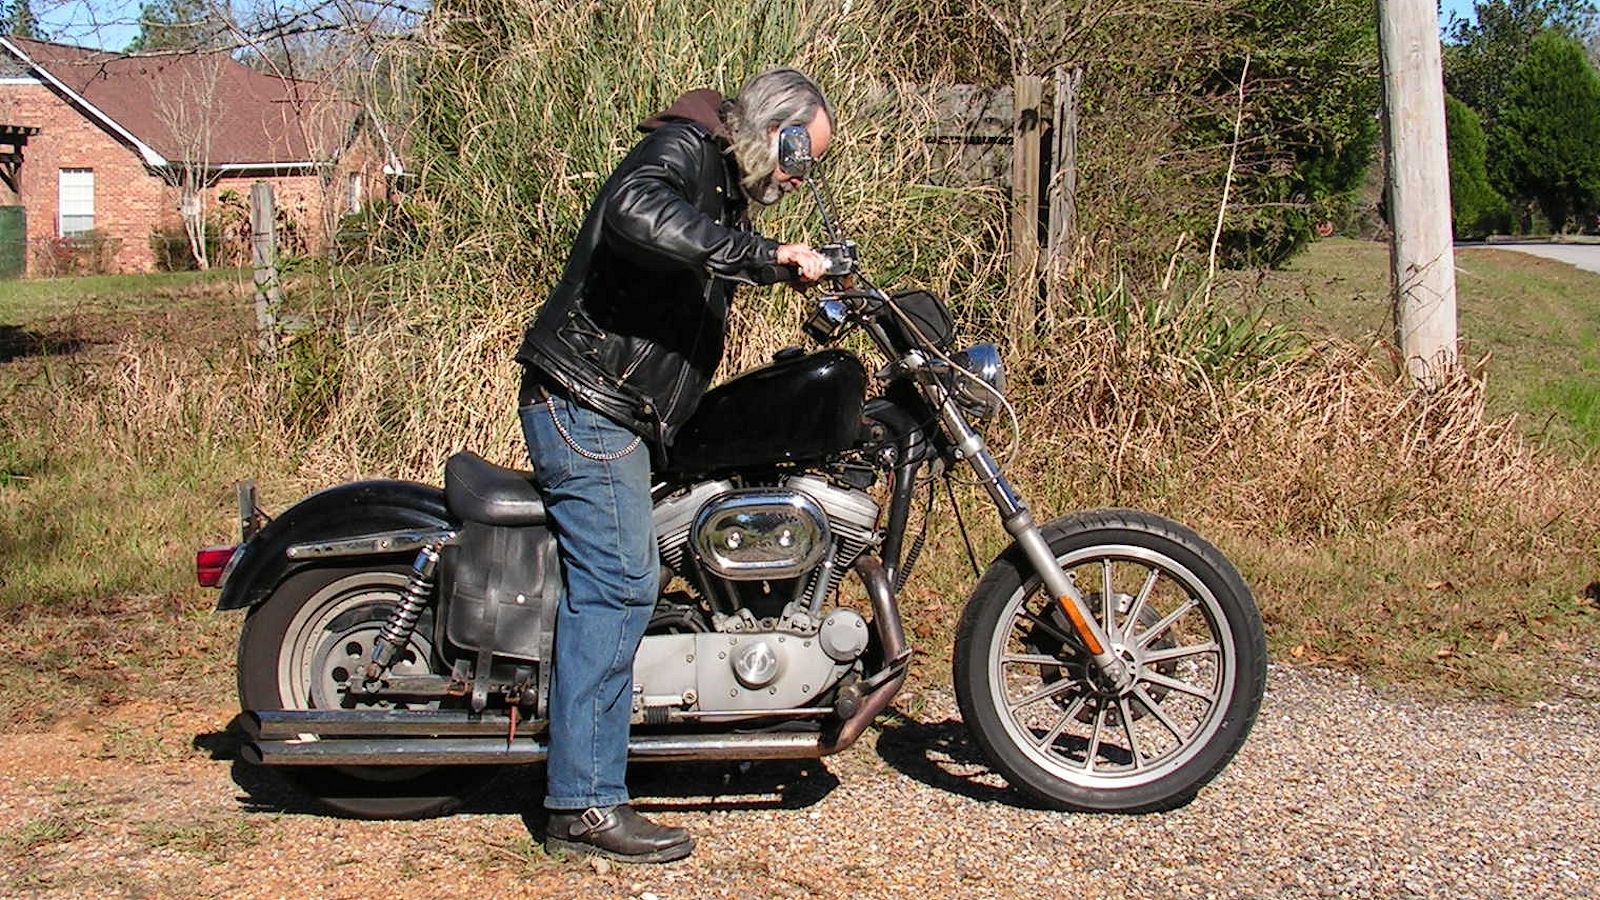
Straddle the bike and stow the center/sidestand. Drop your full weight on the seat a few times to compress the rear suspension, and pay attention to the feel. It should feel smooth, but don't worry if it's a little stiff, most shocks come with at least a preload adjustment, so you can likely tune the rear suspension to your weight and preferences.
Grab a fistful of the front brake and apply it firmly. Using your body mass, rock the bike forward to compress the front forks, and allow it to rebound. It's easy to do this repetitively with constant motion, and really get a feel for the condition of the forks. They should only compress a few inches under these conditions, and make no noise. Noisy forks can be worn or dry, and in need of some serious maintenance, so pay attention to the sounds.
Release the brake and roll the bike forward a bit, then stop it using the front brake. The brake should grab well before the lever gets close to bottoming out. In fact, you should be able to squeeze the brake with your index and middle fingers with enough room for your ring finger and pinkie on the grip under the lever. If there isn't enough room, then something is affecting the brake lever stroke, and brakes are another area that need to be 100 percent before riding.
Now sit on the bike and push it backwards. Step on the rear brake pedal to stop the bike and evaluate the feel. It should be firm after a very short stroke, and quickly stop the bike. If it's soft, the line may need to be bled and fluid level checked, or you may have a problem with the brake master-cylinder piston and bore, so check it out before riding.
Motorcycle Clutch Checks
Time to light the fire and see what the mill sounds like, but first, a word of caution. Starting a motorcycle can be kind of like handling a strange firearm in that you can never trust it to be unloaded, or in this case, in Neutral with a properly adjusted clutch. Not all bikes have neutral safety switches or neutral gear indicators on the instrument cluster, and it can be tough to find neutral on an unfamiliar bike, especially in heavy boots.
In addition, you have no guarantee whatsoever that the clutch is properly set up and not dragging. To be fair, even a properly set up clutch can drag a bit in the first instance of starting if it has set up for a while. Some wet clutches can drag a bit from simply sitting overnight, so you need to take steps to prevent damaging this bike before you even buy it.
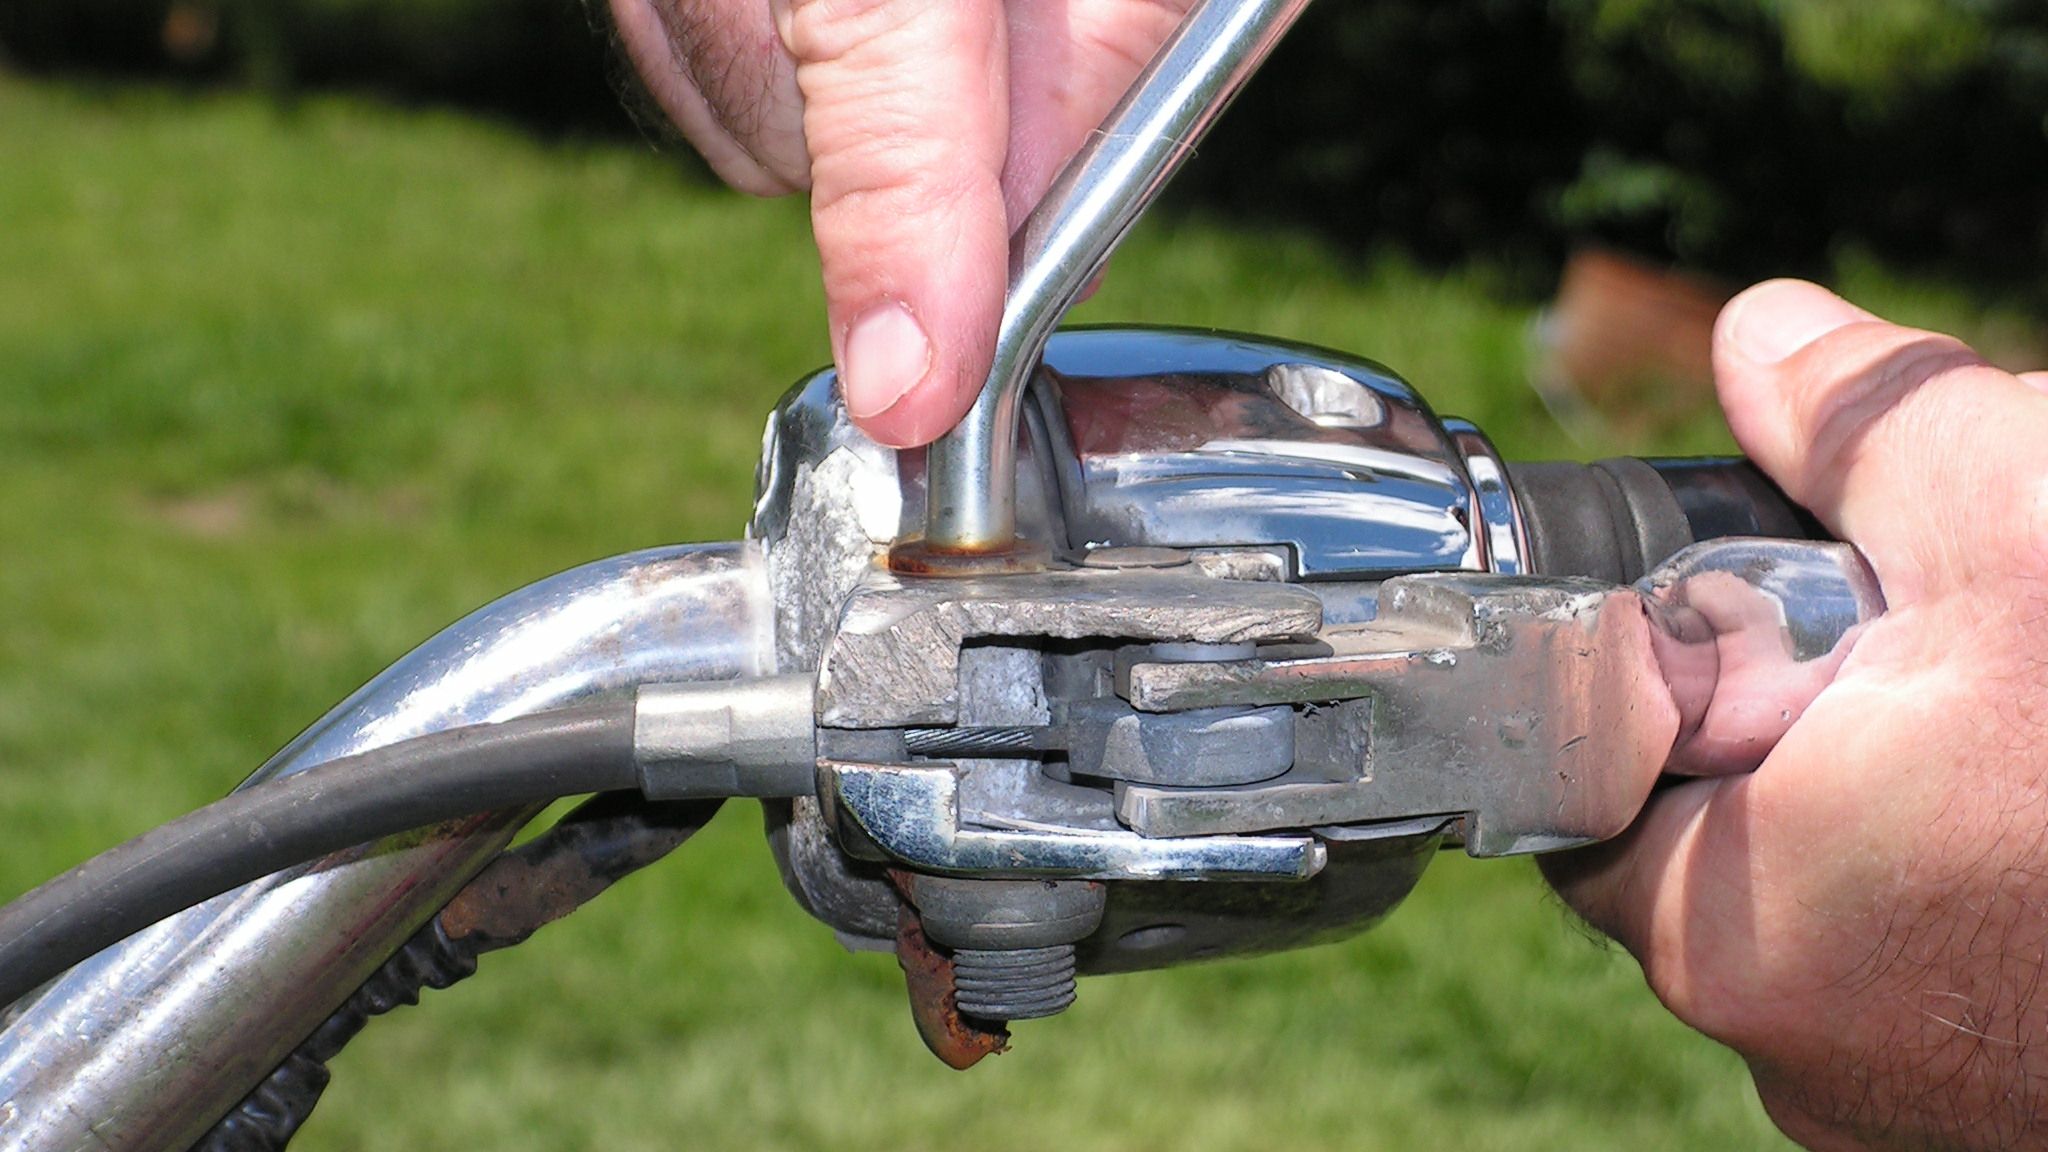
First, pull in the clutch, and pay attention to the effort required to pull it all the way to the grip, then release it slowly. If it is stiff, or hard to pull in, or it seems to feel notchy as if it were binding and releasing in rapid succession within the cable sleeve, then you may need to adjust, lubricate or replace the cable, or you may have a problem in the clutch-release mechanism itself.
You can do a quick inspection of the cable to get an idea which of these it is. Pull the clutch lever in and look at the cable. If it looks dry, kinked, corroded or frayed, then it's a cheap fix. If the cable looks good, then you need to suspect a potential problem somewhere deeper.
Now, with the clutch pulled all the way in, gently rock the bike forward and back and try to find neutral. On the vast, vast majority of bikes around the world, this will require you to downshift -- literally push the shifter down until you are in first gear at the bottom. The rocking will introduce just a little motion to the gears in the tranny to help the dogs and pockets on the shift-gear clusters mesh and prevent damage to the shift mechanism.
Once you are comfortable that you have found first gear, lift up on the shifter with your toe until you feel the neutral detent. It is the first detent outside of first gear, so you should just feel one click. If you feel two, then you went too far and are now in second gear. Downshift back into first and try again, or alternately, you can sometimes find neutral easier by downshifting from second rather than upshifting from first.
Once you are comfortable that you are in neutral, and the neutral indicator light is lit (if equipped), keep the clutch pulled in, and firmly apply the front brake before you hit the starter button. At this point, you should be able to prevent the bike from lurching forward if the clutch drags a bit on startup and you haven't actually managed to find neutral at all. Always assume the bike will lurch, and take steps to prevent that.
Toward that end, it is vital that you actually sit on the bike, and be prepared to control it when you start it up. Never, under any circumstances, start a bike on its sidestand while standing beside it. If it's in gear, it can take off and go until it hits something. Ask me how I know. Once the engine is started, you may cautiously ease the clutch out until you are positive that you are in neutral, then release the front brake, rest the bike on its sidestand and dismount.
Starting The Motorcycle
Now, the engine should be started and at a high idle from the choke/enrichener. Do not rev the engine up with the throttle until it is fully warmed up. Listen for any high-frequency tapping in the top end that could indicate worn or mal-adjusted valvetrain components, and any sort of continuous rattling that could indicate worn cam chain/timing chain tensioners.
On Harleys, listen to the primary case on the left side of the engine for a heavier chain noise that could indicate the same problems with the primary chain. Listen for any lower-frequency knocks that could point to excessive wear or damage in the bottom end. If there are any particularly loud noises in any of these areas, beware, because there may be some expensive problems inside the engine cases.
Motorcycle Pre-Ride Electrical Checks
Check all the electrical devices. Make sure the headlight low- and high-beams work, check the brake light with both front and rear brake controls, turn signals and horn. Failures in any of these checks are, generally, cheap and easy to rectify.
Motorcycle Test Ride
I won't go into the test ride here. Not only do I not encourage a brand-new rider to ride a bike that he or she doesn't own, but also the variety of bikes out there makes it difficult to give a blanket description of how one should feel. I do, however, strongly recommend a rider course such as the Motorcycle Safety Foundation program, or Harley's Motorcycle Riding Academy, before so much as crossing a parking lot on a motorcycle. I'm not kidding.
By the time you finish such a course, you will have a good idea of what a bike should feel like and will be better qualified to judge for yourself. In fact, take the course before you buy a bike. Some courses have multiple bike types to work with, so you can learn on a type similar to what you want to buy. (Cruiser, standard, sport bike, etc.)
Have Fun
Well folks, that's about all I have for any potential first-time bike buyers out there. There's more than five. Oh well. I hope this helps you make an informed decision when it comes time to put some money down on a new-to-you, two-wheeled toy.
As always, keep it rubber-side down, and have a safe riding season.
.
Additional Reading
My Top Five Bike Picks For Women Who Don't Want A Cruiser
See our article on top bike picks for women.


